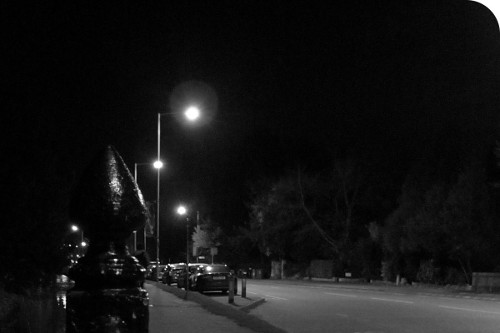
In case Part II (Filters -> Decor -> Round Corners) wasn’t enough, in case Part I (Select -> Rounded Rectangle) wasn’t enough, in case even Part III (layer masks) wasn’t enough to satisfy the demand for demonstrations by me of photographs with round corners…I feel compelled to ask:
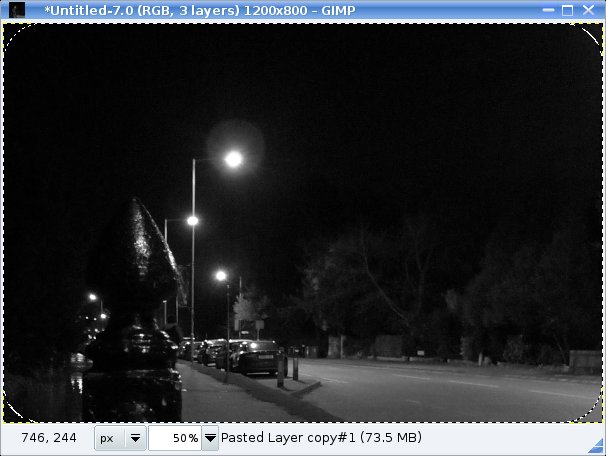
What happens if you only want some of your corners to be rounded, not all of them?? I’m just going to demonstrate what I would do; this may not be the smartest way. Here, I’ll take a photo with four square corners, and make it into a photo with three square corners — and one round one! If you wanted to do that, it would probably have something to do with Web 2.0. Or Web 2.0 squared. Or maybe just a presentation of some sort. I don’t know. Making top or bottom corners round is actually pretty common for web graphics. Like my banner as of the time of writing. Seriously, couldn’t I be more original?
Anyway, as with the last demonstration, on layer masks, this actually also demonstrates a technique you might want to use for something else entirely. This time it’s making a selection of a desired shape by putting individual simple selections together.
Here’s a photo that doesn’t need its corner chopped off, in my opinion (although there are a couple of things I can think of that it could stand to have done to it). But it has volunteered to demonstrate the method. It won’t be going into any presentations, unless you count this.
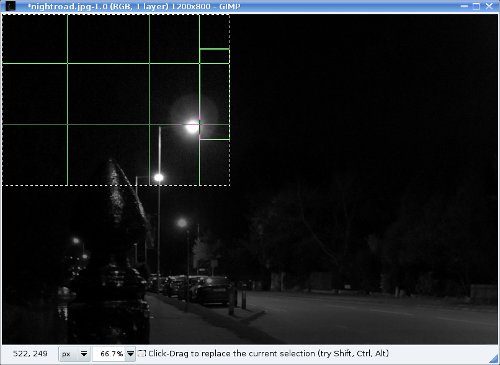
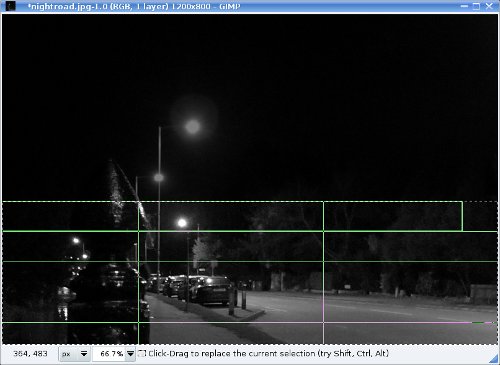
As I (and many before me) have amply demonstrated, shaving all the corners is spectacularly easy or somewhat complicated, as you prefer. To only do one takes just a little more work. The way I’m going to do it involves making several selections with simple shapes, and combining them together into one selection with the shape we want in the end. Here’s a schematic:
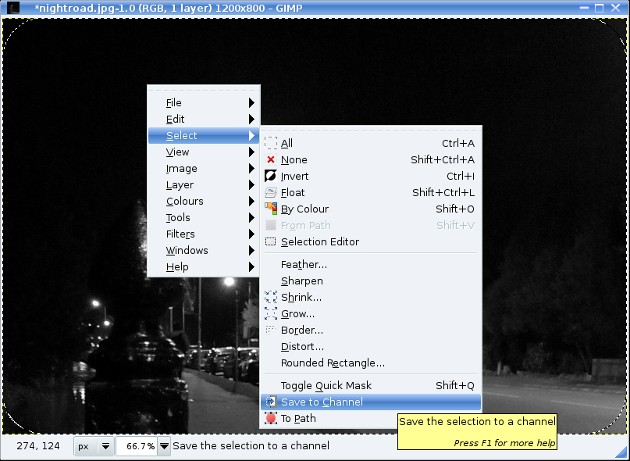
I’ll start with a rounded-rectangle selection like in Part I (just go to Select -> Rounded Rectangle).
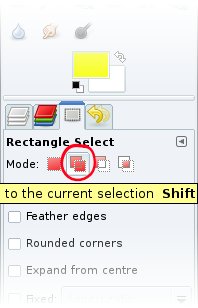
The whole picture is selected except the corners. Now, I’d like to add three of the corners back in. This is a simple enough exercise that you could do it just by setting the rectangle-select tool to add to the selection (in its tool options), and then just select each of the corners you want back. I’ve circled the “addition” mode in red in this screenshot:
But as an exercise, let’s save each individual selection to a channel and put them together later. This means if it takes me a couple of tries to get one of the parts right, I don’t have to redo the other parts. For this we’d use the rectangle-select tool in replace-selection mode (to the left of the “add” mode I circled).
Save the first selection to a channel.
Make the next selection:
Save it to a channel too, and make the final selection:
And, of course, save it to a channel.
Then go to the Channels dialog and for each channel in turn, right-click and choose “Add to selection.”
Once all three channels have been added to the selection, I go back to the Layers tab and click on the image layer to make sure it’s active, then use the Ctrl-C; Ctrl-Shift-V trick to copy the selection and paste it as a new image. If I want to add a white layer and put it below the image layer, I can do that now; otherwise I’m done!
This process obviously needs very little modification for different numbers of round corners. Â I imagine it’s possible to do this pretty much the same way if you use Photoshop.
If you had a bunch of pictures the same size and shape that you wanted to nip a corner from, it would probably be worth saving the final selection to a channel and saving that to its own image; then you could just load up whenever you wanted to use it.


