Edit: This is not the first way I should have described, because it’s not the easiest way. See Part II for the really, really easy way. See Part III for using layer masks to do the same thing, but only if you’re interested in learning about layer masks, because rounded corners are incredibly fast and easy in the GIMP using the Round Corners filter.
Edit again, Dec 6 2009: I have also done a demonstration of one way to make only one, two, or three corners round, in “GIMP: Combining selections.” In it, I used this method to make a rounded selection, and then I added the desired square corners to the selection.
If I insist that the GIMP is a good tool for manipulating digital photos, I should show it doing something, shouldn’t I? Since I was recently interested in trying this, let’s do rounded corners. You may want to do this for effect on a photo, or maybe you’d like to make some round-edged web graphics. There’s more than one way to accomplish the same effect, as is so often the case. I’ll look at one method (“Rounded Rectangle”) with a couple of variations here, first in a long-winded fashion and then at the end, in point form.
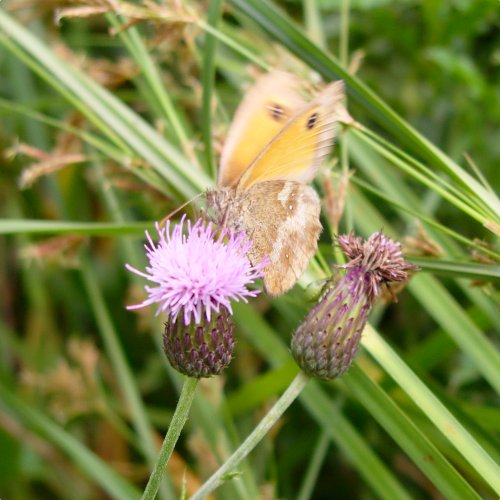
Here’s a picture from my little butterfly-photographing spree this past summer. I’ll go through how to make corners round on that.
As I learned back then, this butterfly is called a Gatekeeper. It’s a little blurry. Decided to flap its wings just as I wanted to take a picture. Let’s not worry too much about that. It won’t affect the corners, right? Actually I kind of like the effect.
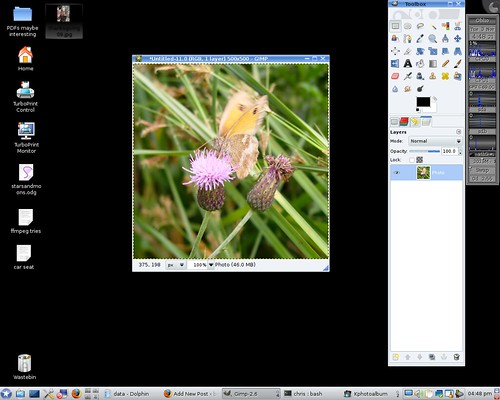
Here’s a screenshot of the image open in the GIMP. I’m using it under Linux with KDE 4, but it runs under Windows and OSX, too. It’s free. I have my toolbox and tabs with settings and stuff over on the right, and the image gets its own window. The layout is pretty configurable. Everything that has a tab can have its own window, for example, so you can see it all at once (if you have the screen real estate).
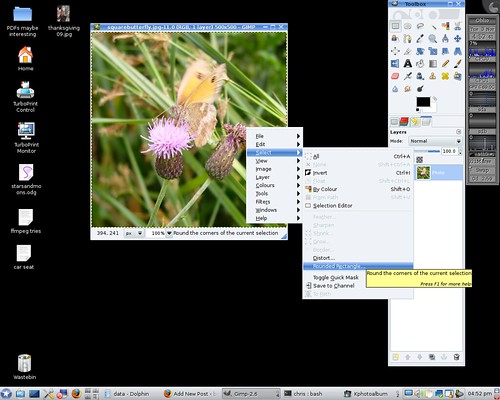
Here’s a good place to demonstrate the right-click menu in the GIMP. You can set your preferences so that there’s a menu bar along the top of the image window, but all the same options can be found by right-clicking anywhere on the image. This brings up the main menu, and has the advantage that I don’t have to move my mouse up to the top of the window before clicking. Just click with the right button wherever you are (as long as it’s on top of the image somewhere) and slide down to the menu item you want. I find this a more natural movement and faster than using a menubar.
I should get down to the corner-rounding, shouldn’t I? OK. While I’ve got the menu open, I’ll choose Select -> Rounded rectangle.
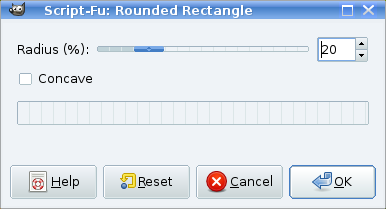
This window pops up, asking how sharp the corners should be:
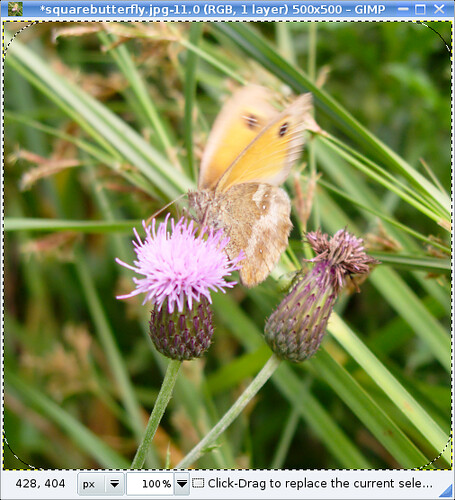
I choose 20%, and here’s what it gives me. There are now round corners delineated by dotted lines (“marching ants”):
From what I can tell, “radius” and “percent” in the Rounded Rectangle dialog box actually mean “diameter of the circle segment used to make the corner” and “percentage of the length of the shorter side of the photo.” So if you have a square photo and set the “radius” to 100%, this makes the selection the biggest circle that will fit inside your image. So 20% means that if you visualize a whole circle starting in the round corner, that circle is 1/5 the height of the photo.
The situation at this point is that we have an area of the photo selected that has corners shaved off of it.
You need to decide whether you want the corners to be transparent or not. If you are saving as a jpeg without transparency, then you may want them to be white (or another colour) to blend in with a background.
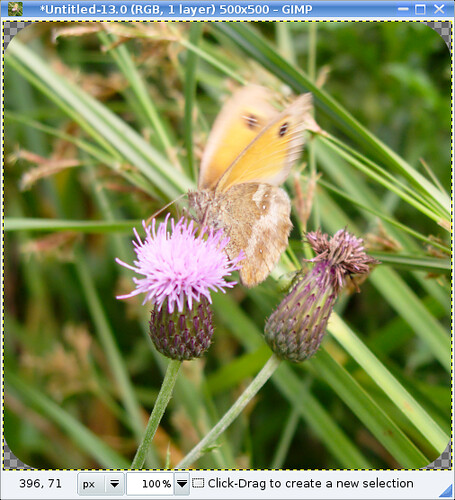
If transparent, I think the easiest thing to do is hit Ctrl-C to copy that selection, and then Ctrl-Shift-V to paste it as a new image (or with the mouse, right-click anywhere on the image and select Edit -> Copy, then Edit -> Paste as -> New Image). Then you get this:
At the corners you see a checkerboard pattern: that’s like the table the photo is sitting on. You can see it through the transparent pixels in the corners. Save your image in a format that preserves transparency, and you’re done.
If you want opaque corners, there are two easy ways I can think of. Let’s assume you want them to be white.
Way one: Paint in the corners. With the ants still marching around the rounded corners, right-click on the image to get the menu out, and choose Select->Invert, which makes everything that was selected unselected, and vice versa. So now just the corners are selected. Use the bucket tool to fill all the corners with the colour you want. Ta-daa! Done.
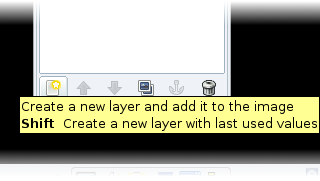
Way two: Put a white layer below the photo. Take the image above, with the transparent corners, and add a layer to it, filled with white. There’s a button to create a new layer at the bottom left of the layers tab (at the very bottom of the “Toolbox” window, in my case):
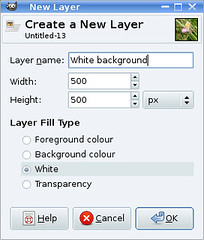
A window pops up asking for some details about the new layer I want to create. You can give your layers names. I’ll call this one “White background.” I’ve got the radio button ticked for a layer pre-filled with white. By default it’ll make the layer the same size as the photo layer.
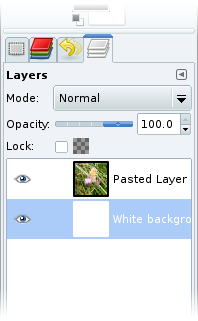
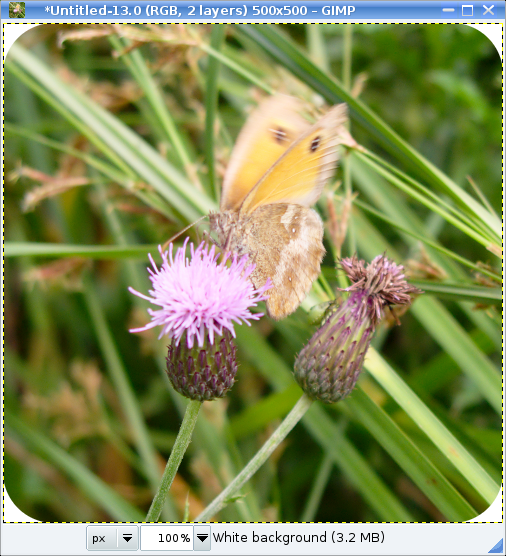
The new layer will appear above the one that was there before. I only want to see white where my photo layer is transparent (i.e. the corners) so I click on the White background layer in the Layers tab and pull it down so it’s at the bottom of the stack as below. (Yes, the stack of two layers. I couldn’t think of a less grandiose word.)
The photo window now looks like this:
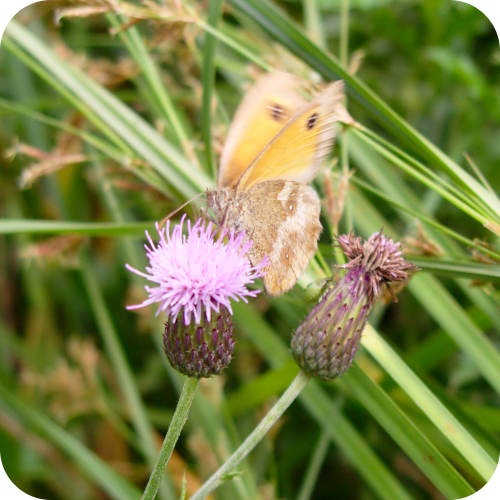
Done. Save in any format you need. If your format doesn’t support multiple layers, the GIMP will ask if you want to “export” the file as a flattened image, which is what you want to do. And if you put the picture into a blog post:
Ta-daa. A roundy-cornered photo.
To sum up:
1. Open your image
2. Choose Select -> Rounded rectangle.
3. Choose how sharp the corners should be.
Now, if you want transparent corners:
4. Hit Ctrl-C to copy that selection, and then Ctrl-Shift-V to paste it as a new image.
5. Save in a format that supports transparent pixels. Done.
Or, if you want white corners, either:
4. Choose Select -> Invert so the corners are selected.
5. Fill in the corners with white using the paint bucket tool.
6. Save. Done.
or (white corners method 2):
4. Hit Ctrl-C to copy that selection, and then Ctrl-Shift-V to paste it as a new image.
5. Create a new layer filled with white.
6. Put that layer below the photo layer.
7. Save (or export). Done.
Believe it or not, I’m not done writing about round corners yet. I’ll write another post on a different approach to rounding the corners that adds a layer of complexity, but also adds flexibility to expand your ambitions far, far beyond simply shaving off corners.
Update Nov 6: Here’s what the official documentation at Gimp.org says about this method of rounding corners:
…well, a lot of parts of the GIMP Manual are more detailed than that. It’s worth checking out when you want to understand a feature.

