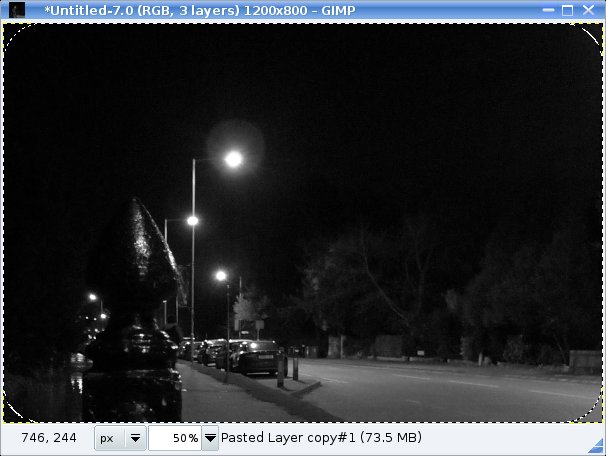
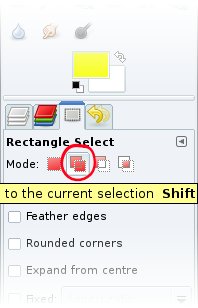
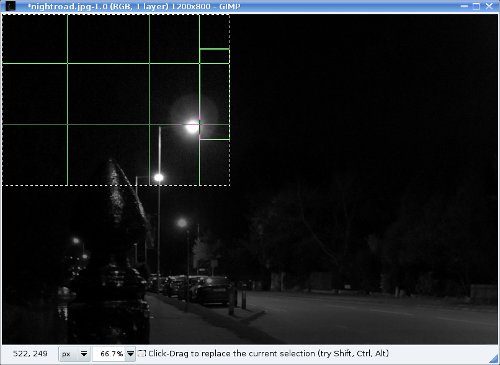
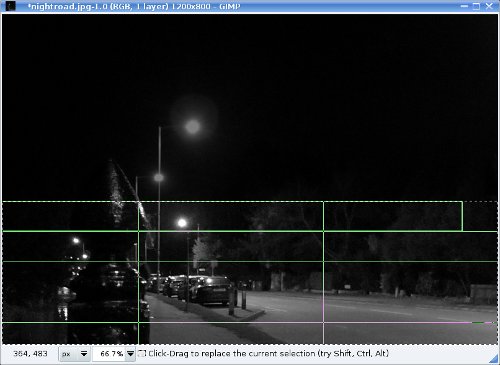
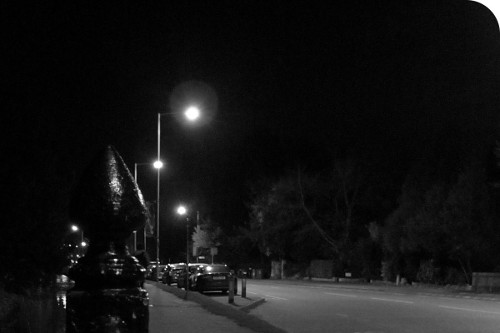
Edit Dec 6, 2009: I have also done a demonstration of one way to make only one, two, or three corners round, in “GIMP: Combining selections.” In it, I used the method of Part I to make a rounded selection, and then I added the desired square corners to the selection.
What? Another post on making corners round in the GIMP? Yes, that’s right. Making round corners is very important and deserves a thorough treatment.
I’m kidding. This time, the aim is a simple demonstration of a tool that has many uses once you’ve mastered it: layer masks. So you could call this Part III on rounded corners, or Part I on layer masks! (Here’s an entry in the GIMP manual on layer masks.) Quick summary at the end.
In Part I and Part II, I demonstrated a couple of the GIMP’s built-in ways to make corners round: deleting everything outside a selection that’s the shape of a rectangle with rounded corners; and running the “Round Corners†filter, which does that and a bit more automatically. These are both so quick and easy that if rounded corners were really my aim, say for graphics for my web page, I wouldn’t be looking for anything else.
When I first started using the GIMP, it wasn’t obvious to me what the point of a layer mask was or how to manipulate one. But once I’d made the effort to become familiar with them, I was relieved to find that they were actually not that mysterious, or complicated, after all.
I got a bit tired of staring at my little Gatekeeper butterfly though (not the butterfly’s fault: I just looked at it for too long), so I’m going to use flowers this time.
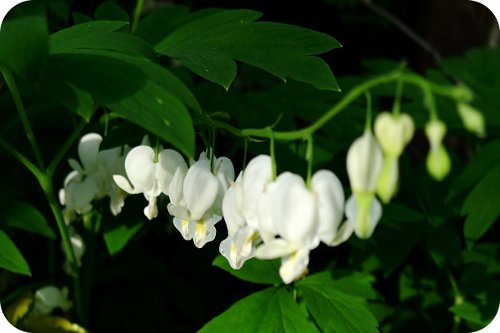
Say we have a picture like this:

It’s called Dicentra spectabilis ‘Alba’ (bleeding heart), according to the BBC Gardening website.
I didn’t plant it, and it’s no thanks to me that it’s still alive. That goes for everything in our garden.
OK, now pretend we want to put round corners on this using a layer mask. We’ll have to know what a layer mask is and does first…
The layer mask is a greyscale image you can make and apply to any layer in your image file. As its name suggests, it masks the layer: it changes which parts of the layer can be seen, and which parts are invisible.
The principle is this:
Where the layer mask is white, your layer is visible.
In any region where the mask is black, the pixels of the image layer become transparent, and you can see through it to the layer below.
Any level of grey in between corresponds to a level of partial transparency.
It’s pretty easy to imagine doing all sorts of complicated things with this, but for now I’m sticking to my rounded corners.
As soon as you remove or disable the layer mask, you can see the whole image again. This is one of the beautiful things about layer masks: they’re non-destructive. This means it’s easy to try a lot of variations without having to make too many memory-consuming copies of your target layer or rely heavily on multiple “undo” levels.
Now to business. As in Part I, I’m going to select a rounded rectangle to begin with (right-click on image; Select -> Rounded Rectangle). I choose “radius” 20% (remembering this is actually the diameter of the curve it will make). Now I have a selection in the shape of the image I want to end up with, like I did in Part I.
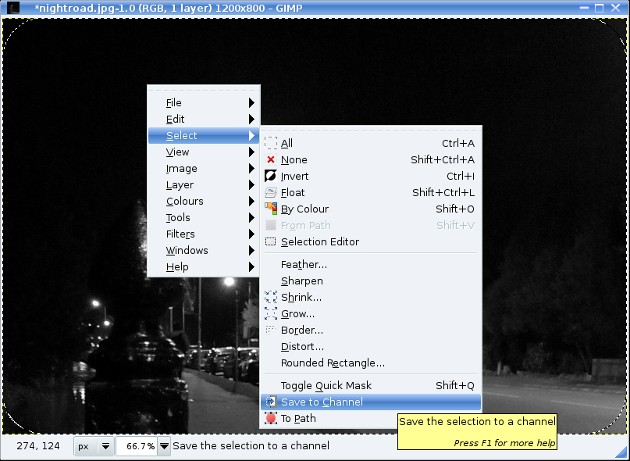
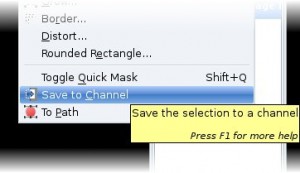 Where I take a left turn relative to that, though, is that I now go to Select -> Save to Channel.
What that does is save the selection into a greyscale image in a place that’s easy for me to get at when I want to make it into a layer mask. In this channel, whatever was inside the selection will be white (visible), and whatever was outside will be black (masked out). If your selection was feathered, there would be a smooth transition from white to black, i.e. the mask you’ll eventually make would grade the image smoothly from visible to transparent at the edges.
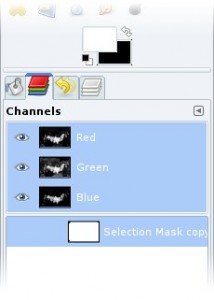
Now if I go look in the Channels tab, I see a new channel called Selection Mask copy. Incidentally, if the Channels dialog is not showing, you can bring it up by doing: right-click; Windows -> Dockable Dialogs -> Channels. Any dialog you want to see can be brought up in a similar way.
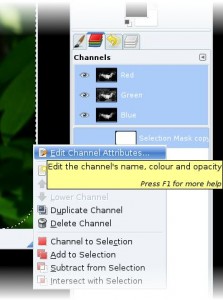
The channel name is easy to change if you think you may want to have more than one and want to keep them straight: right-click on it in the Channels dialog and choose Edit Channel Attributes and give it whatever name you want. Renaming a normal layer works like this, too.

At this point, you may (like me) be wondering what “Fill opacity” refers to in the Channel Attributes dialog. That parameter has to do with how the channel looks if you make it visible over the image layer by clicking over to the left of it (in line with where all the eye icons are next to the Red, Green, and Blue channels).
I’ll demonstrate that in a sec, but first let’s click on the box at the right of the Channel Attributes dialog, the one that’s filled in black in the upper-left half.
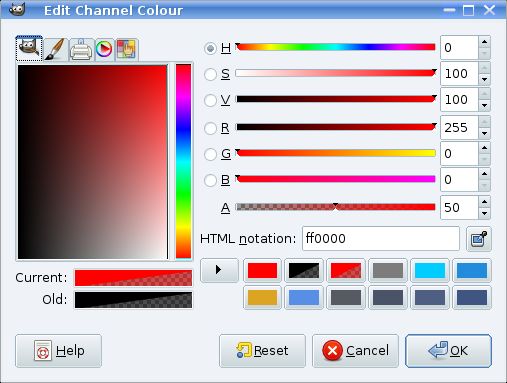
This brings up the colour editor. Â I’ve clicked at the top right corner of the colour box to select the colour red.
(Aside: Kindly notice that this dialog is called “Edit Channel Colour.” That’s because I have asked my Mandriva Linux system to use Canadian English. Nice, eh?)
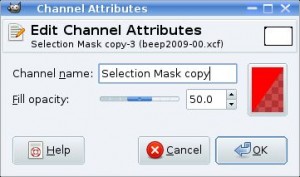
This is what the Channel Attributes dialog looks like now. If I were to slide the “Fill opacity” slider to the right or left, the red in the lower-right corner of the box would get more or less opaque.

Now if we click to the left of the Selection Mask copy channel in the Channels dialog, an eye icon appears, indicating that the channel is visible….
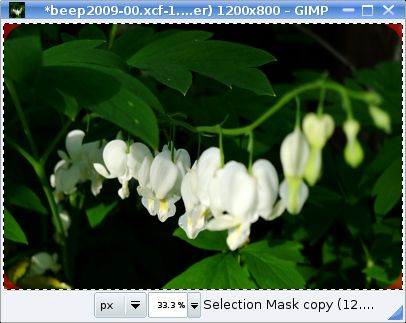
…and the black regions in the channel show over our image as 50% transparent red. The red helps make it more visible than if I’d left it black, and the transparency lets you see what the mask will cover in the image.
You can leave the “eye” there and have the red corners showing, or click on it again and make the channel invisible. I’ll make it invisible at this point.
We still don’t have a layer mask, do we? That’s because I digress a lot.
Just one more thing before we get to the point. Prepare a white background layer: go into layers dialog and add a new one, fill it with white, and drag it so it’s underneath the image layer (like in Part I). You wouldn’t do this step if you wanted the corners to stay transparent instead of white.
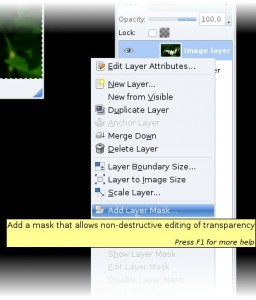
Then, finally, make the layer mask: right-click next to the image layer, and choose Add Layer Mask (this is also available in the main menu accessed by right-clicking anywhere in the active image: Layer -> Mask -> Add Layer Mask).
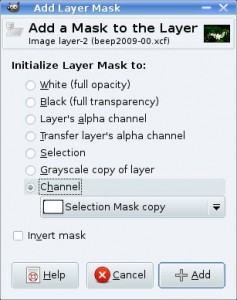
This brings up a dialog that gives us the option (among other possibilities) to populate the layer mask with a channel. So select the channel we made before and click Add.
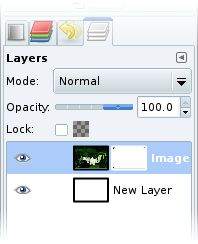
The layers dialog now looks like this.
Next to the little cartoon of the image, there’s now a little cartoon of the contents of the layer mask. You can right-click on this and check or uncheck “Show Layer Mask” to toggle the main image window between the image and the mask, or “Disable Layer Mask,” which removes its effect without destroying the layer mask. Left-clicking on it, which is the same as “Edit Layer Mask,” makes it the thing you’re actively editing with any tools you apply (whether you’ve made it visible or not), so you have to remember to left-click on the image icon (or uncheck “Edit Layer Mask”) to edit the normal layer again.
And the image now looks like this:
Boom, we’re done. Well, almost. Once you’re sure you’re happy with the masking you can right-click on the layer in the Layers dialog and choose Apply Layer Mask (or do Layer -> Mask -> Apply Layer Mask). Before saving as JPEG, I did Image -> Flatten Image. I tried saving as PNG, without the white background layer, and GIMP gave me the option to flatten or to merge visible layers before exporting. I chose to merge the visible layers, and the resulting file has nice properly transparent corners.
To sum up:
1. Make a selection in the desired shape (here, rounded rectangle).
2. Choose Select -> Save to Channel
3. (Optional) Make a white background layer and drag it below the image layer
4. Choose Layer -> Mask -> Add Layer Mask; “initialize” it to the channel with your prepared mask in it.
5. Choose Layer -> Mask -> Apply Layer Mask
6. Image -> Flatten Image or Image -> Merge Visible Layers
7. Save with a different filename (don’t overwrite your original photo file).
This was about the simplest layer mask you’ll ever see, and there are many ways to generate layer masks — including painting with the painting tools. The possibilities are endless.
I think I’m finished with rounded corners for now. Can’t guarantee about the layer masks.


